


Time for a quick fix.
 |
| Jammies "Before" |

(And don't throw those legs away! Check back next week to find out how to use them to make another cool garment. It's so fun and satisfying to use every piece for something.)
Next, I serged the bottom edge to keep it from fraying. There's not much danger of this kind of knitwear unraveling, but the overcasting kept the edge nice and clean while preserving stretchability. If you don't own a serger, a zigzag stitch on a regular machine works just as well. More about overcasting in the tutorial linked here.

Next, I turned about 1/2 inch to the inside and pinned the hem in place. Don't fuss with this too much. So long as the length on the pants legs looked about the same, I wasn't too concerned with precision. I honestly didn't even press it.

I DID, however, adjust the pressure on my presser foot to lighten it up a little and changed from a standard presser foot to a rolling foot. This little change takes some of the pressure off the knitwear so it doesn't stretch out too much and get all lettuce-edgy. If you have a girl, that's a great look. If you have stinky boys, not so much. :)
 |
| Left - Rolling Foot, Right - Standard/Zigzag Foot |
Despite having a thread that matched the main color in the pants pretty closely, I decided to use a contrasting thread for interest.
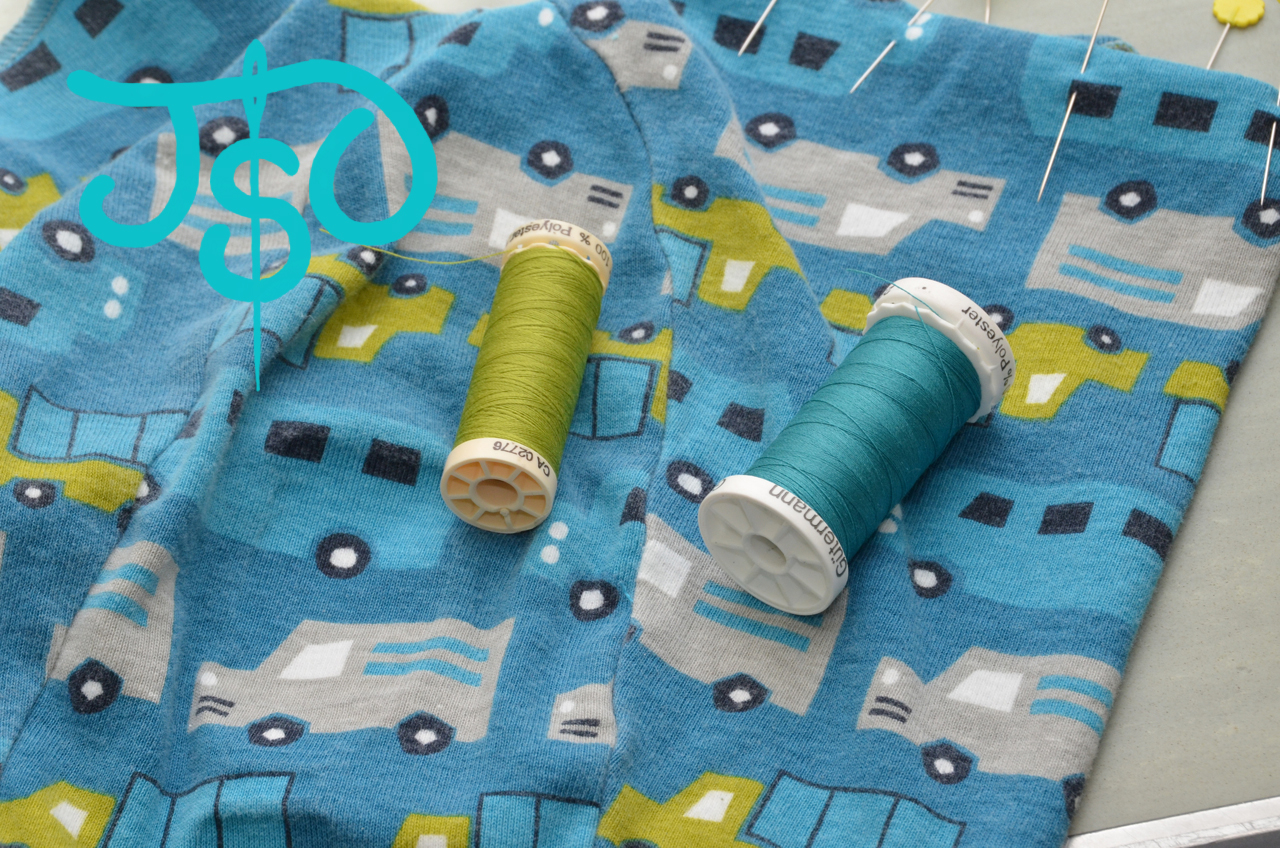
I didn't, however, want to roll an entire bobbin in that contrast color, so I decided to put a neutral beige on my bobbin.
 |
| Sample of the beige next to the green contrast thread |
Whatever your stitch of choice, it helps to do a sample run on a piece of scrap fabric so you can adjust the length and width to get the look you want. Here, I quickly ran a piece of pillow ticking through my machine and made the stitches slight narrower and longer than the default zigzag settings.

Using a zigzag stitch, I started at the inseam and topstitched the hem all the way around. More about topstitching in that same pillowcase tutorial linked again here. (As I'm sure you've realized, it was a pretty awesome tutorial. Ha!)
Quick Tip: Starting your stitching at the inseam helps camouflage the beginning and ending points as well as any overlap of stitches.

See the beige thread on the inside? If your tension is properly set, this should work fine without any of the mismatched bobbin thread poking through to the top.
All set!

Yeah, they're pretty much adorable -- just like the boy.

He digs 'em!
