

I found inspiration from Mari's Monk Bag tutorial, and we even used it as a project for the Gals' Gathering. I wasn't totally jazzed, so I modified the process a bit to my tastes. Here are the changes I made to her basic design:
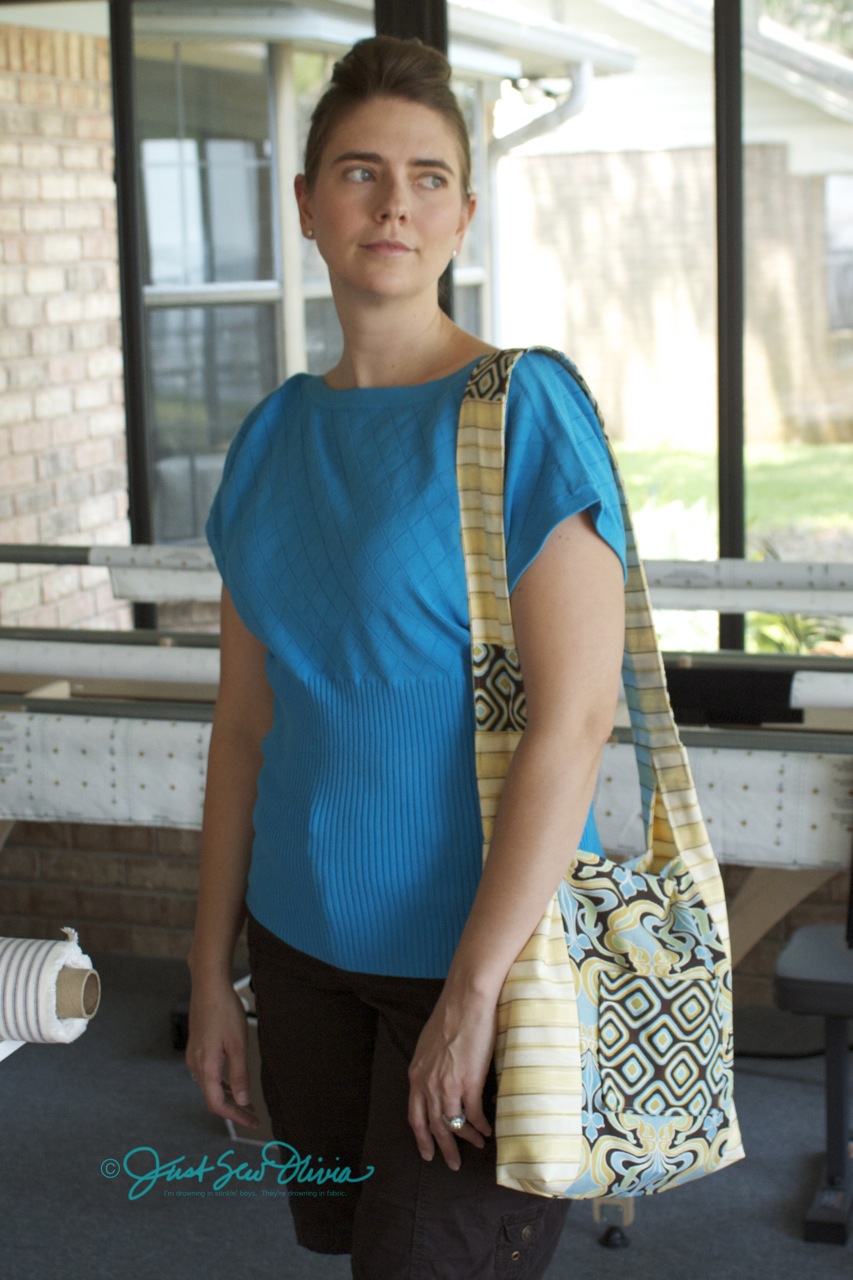
First, my number one problem once I finished the Monk Bag was the handle -- it's way too wide!
I couldn't find any way to wear it, either on one shoulder or across the body, that was comfortable or cute. Not wanting to lose the base of the bag, which turned out great, I decided to chop off the long wide strap and make my own narrower, piecey one. (Yay! I love pieces!)

Alternatively, if you like the look of the single piece of fabric stretching from the bag's base to the top of the strap, you could simply taper the straps to a narrow point at the top.

Second, I always want more pockets, so I placed a pocket on the outside of the bag as well as the inside. Get really fancy and add a third pocket on the inside and divide it at the 2/3 point to hold a pen and a debit card! (No credit cards here...we're big Dave Ramsey fans.)
Third, in the Monk Bag tutorial, it instructs you to leave 1/2 inch unsewn at the top and bottom of the seams between the straps and side panels. That makes sense at the top, but not at the bottom. Go ahead and sew that sucker right off the edge, press your seams and stitch across the bag bottom!

Likewise, it indicates you should press the seams toward the handles. Again, there's no clear rhyme or reason for that... Press them open. Trust me. It's much easier to match up your panel intersections on the bag bottom when you seam it.

Be careful when you press the seams. The charm that sets this bag apart is that the side panels wrap around the bag from one side to the other. You don't want to crease them in all the wrong places, so take care as you iron. You always need to be aware of what's on either side of what you're pressing, as well as underneath.
Fourth, I'm a sucker for a box bottom bag. I always add this detail to any bag because, well, I actually use my bags to carry stuff! Boxing the bottom is ridiculously easy, and it lets the bag accommodate more without looking all stretched out and homemade. (You know: There's "that's fabulous" homemade, and there's "awww, isn't that precious" homemade. I'm personally going for the former.)

Adding a boxed bottom is about the lowest-maintenance detail you can give a bag. Once you seam across the bottom, (with the bag still wrong-side-out), grab the bag by the sides at the corners and tug them out until the bag's side seam is laying on top of its bottom seam. That will for a pretty little triangle. Then mark a stitch line across the triangle.

However long the line, that's how wide your bag will be at the bottom. Stitch, trim and repeat for the other corner. (Don't forget to do this on the lining, too!)
 |
| Voila! Beautiful! |
Finally, a note on ironing: Pay attention to your iron settings! Nice bags are frequently made of some kind of decorator fabric, and you don't always know what kinds of synthetic fibers might be woven in. If you didn't use 100% cotton, you may be in for a shock if your settings are too high or you use steam...
Yep, the sunroom is a mess...oh well!
A fun and easy project to make! Enjoyed the sewing class.
ReplyDeleteThanks, Ms Sherry! I liked your point about leaving a wider seam allowance on the lining to help it lay flatter. Your bag turned out great...
ReplyDelete